Submitting a CVE to MITRE 101

I recently discovered my first vulnerability in a software and had no idea how or where to request a CVE. After some investigation, I realized that since the exploit wasn’t part of a CVE numbering authority (CNA), I needed to report it myself. The resources I found were scattered and incomplete, so this blog post aims to provide a comprehensive guide on the entire process.
Finding and Checking
If you’ve discovered an exploit in software used by multiple organizations, the first step is to check if it has already been reported. You can do this by searching MITRE’s database at MITRE CVE Search. If your vulnerability does not have a CVE yet, you can proceed with your journey. 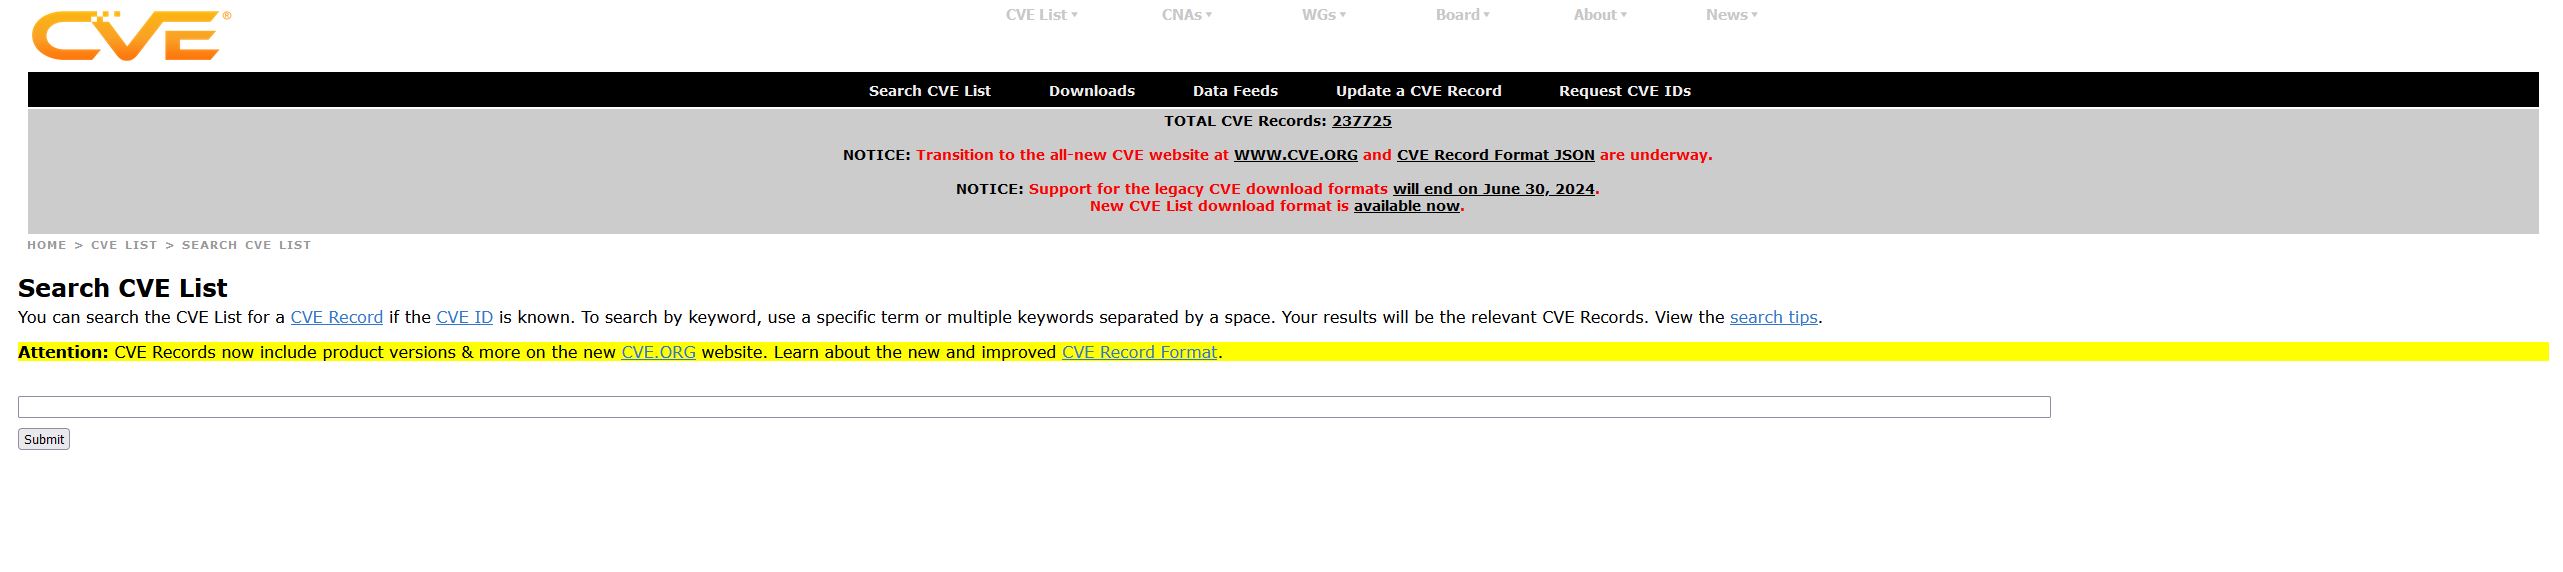
Contacting the Vendor
Once you’ve confirmed that the issue doesn’t have a CVE, the next step is to contact the vendor. Research the correct contacts, such as email addresses, Twitter accounts, and LinkedIn profiles. Prepare a detailed message explaining the issue, including a clear description and a public disclosure timeline, which can range from 30 to 120 days. I chose 90 days to allow the vendor to respond and for me to send reminders. If the vendor is a CNA and responds to your messages, you can work with them to resolve the issue and request a CVE. However, if the vendor does not respond after several reminders, you will need to request the CVE yourself, which this blog post will cover.
Making the Request
To request a CVE, visit MITRE CVE Request Form and fill in the form details. Here’s a step-by-step guide on how to complete the form:
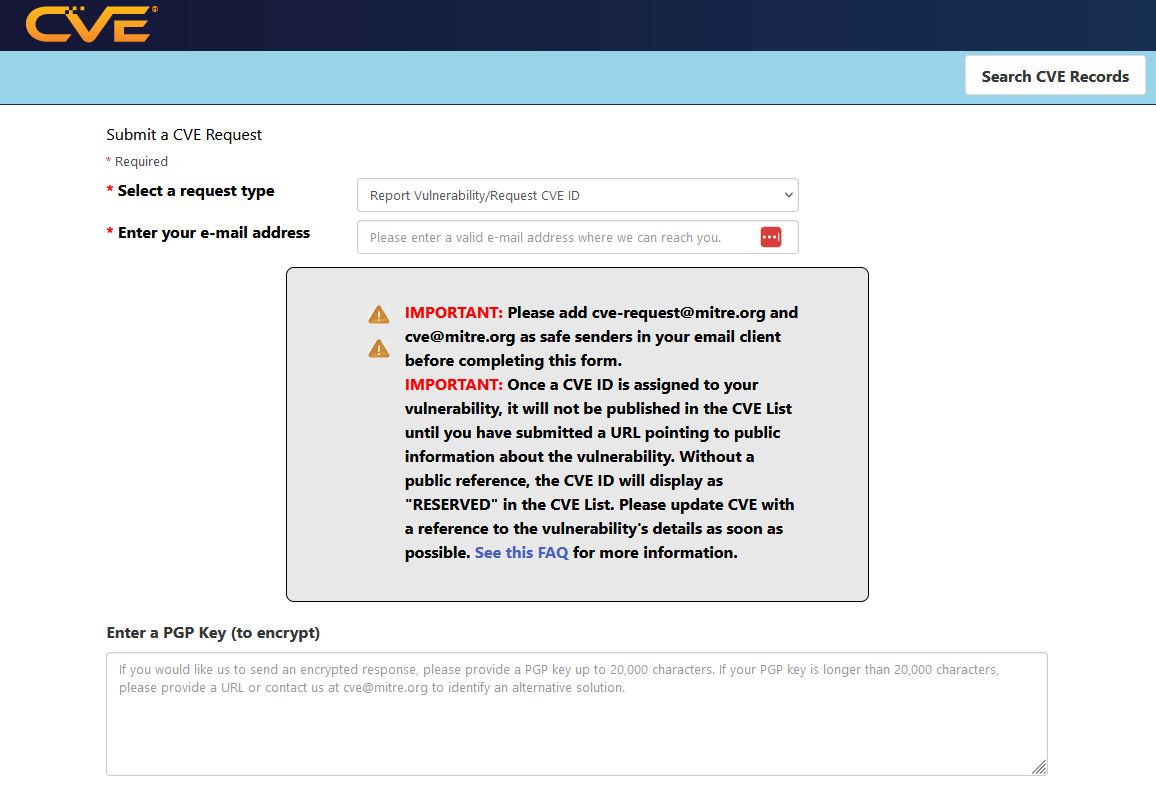
Select Request Type: Set the field to ‘Report Vulnerability/Request CVE ID’ and enter your email address below.
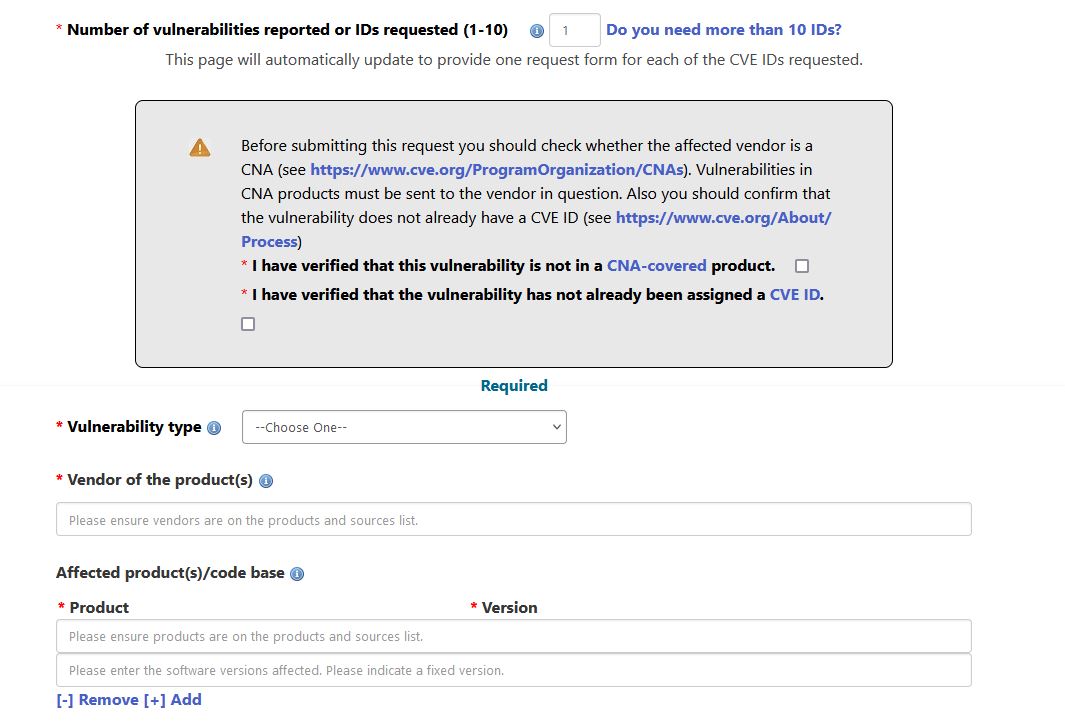
Request Details: Specify the number of IDs you want to request (usually 1 per vulnerability). Check the boxes indicating that the vendor is not CNA-covered and that the exploit does not already have a CVE.
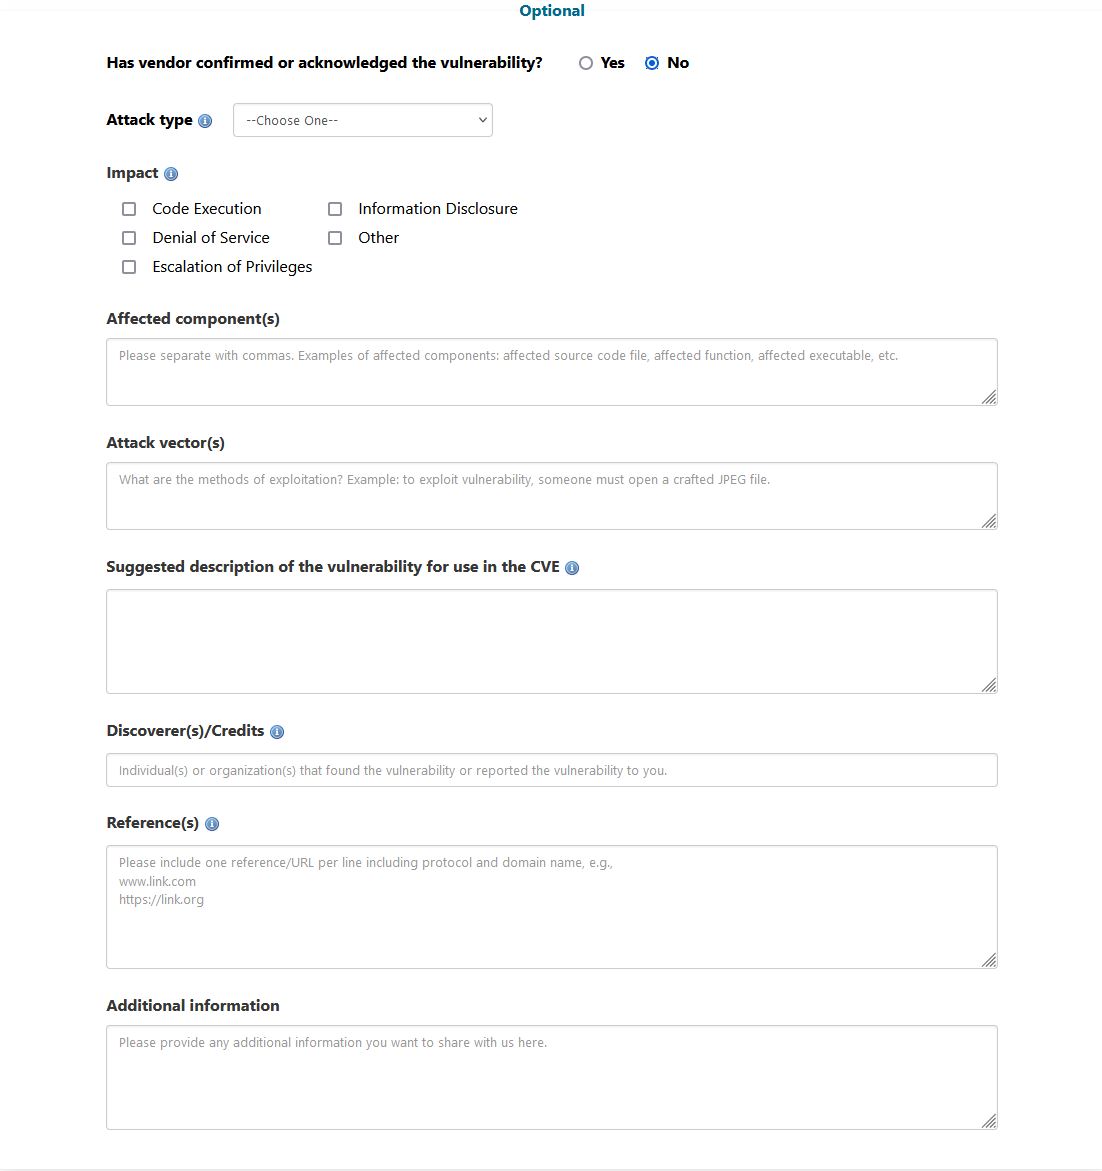
Information: Fill in the information about your exploit. Include a clear and concise description using the specific wording and format required by MITRE. Refer to the CVE Project Key Details Phrasing for guidance. The format should be:
[VULNTYPE] in [COMPONENT] in [VENDOR] [PRODUCT] [VERSION] allows [ATTACKER] to [IMPACT] via [VECTOR].
For example, for an XSS vulnerability:
Cross-site scripting (XSS) vulnerability in [COMPONENT] in [VENDOR] [PRODUCT] [VERSION] allows remote attackers to inject arbitrary web script or HTML via the [PARAM] parameter.
Submit the Form: After completing the form, submit it. You will receive a confirmation email that your request has been received. After a few days (around 15 days for me), you will receive a RESERVED CVE number.
Request for Publishing
After the disclosure timeline, the next step is to write a disclosure report and publish it online. MITRE requires a public reference to verify the CVE. I created a new GitHub repository for my findings, which will be included in the CVE details. Examples can be found on my GitHub at Excis3 CVE Disclosure. This should be sufficient to move your CVE from RESERVED to PUBLIC. After creating the disclosure report, return to the MITRE CVE Request Form and select ‘Notify CVE about a publication’.
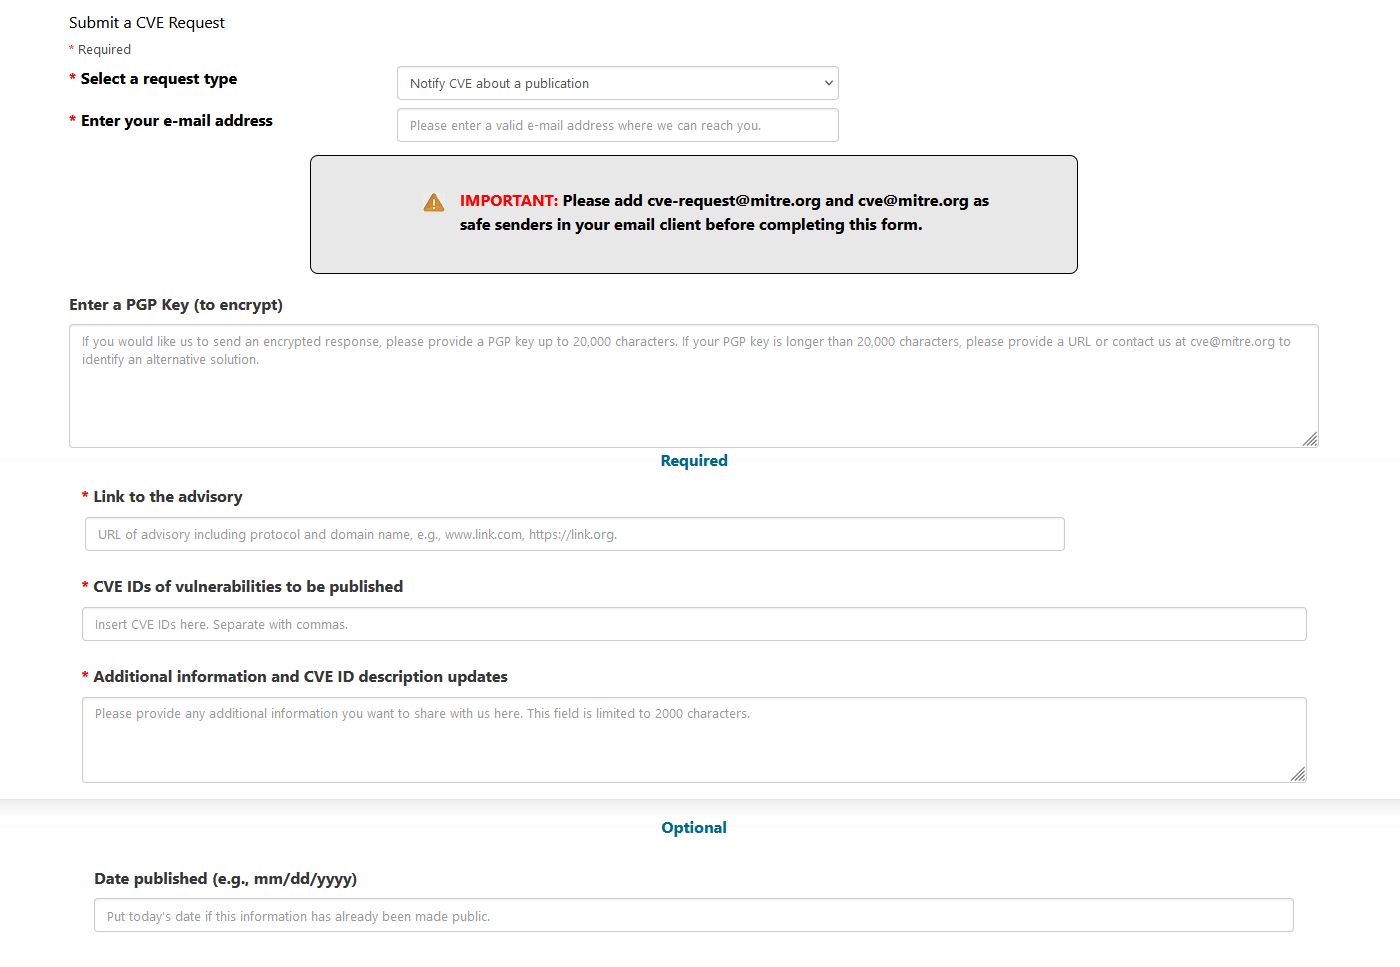
Fill in your email address, the link to your advisory, and the reserved CVE number. You can also provide additional information or update the original description if needed.
After submitting the form, you will receive a notification that your CVE is published within a few days.
Conclusion
Reading multiple blog posts about how to submit a CVE, I managed to piece everything together and request a CVE on my own without a CNA. It took some research and a lot of reading, but I’m glad I took this journey as it prepared me for future discoveries.
Stay safe,
Excis3